February 06, 2021 ● Mrs Craft Centric
Creating Wax Seals

Wax seals have this crazy beautiful way of making anything more special. I don’t care if you get an index card with a smiley face in the mail, if the envelope it was sent in was sealed with a wax seal, it’s automatically fancy mail.
When I first looked was wax seals and how to create them the videos, blogs, and images I came across seemed to skip the first 6 steps of what to do and jumped straight into applying wax.
As I was starting out, the things I struggled with was figuring out the wax consistency, applying the wax to the envelope, applying the stamp at the right time (which had to do with the wax consistency) and when to remove the stamp. I would try to pull the stamp up from the wax too soon only to reveal a half imprinted image. Other times I would leave the stamp in the wax too long and when I tried to remove it, the wax would come with, tearing the envelope.
So, here’s what I’ve learned:
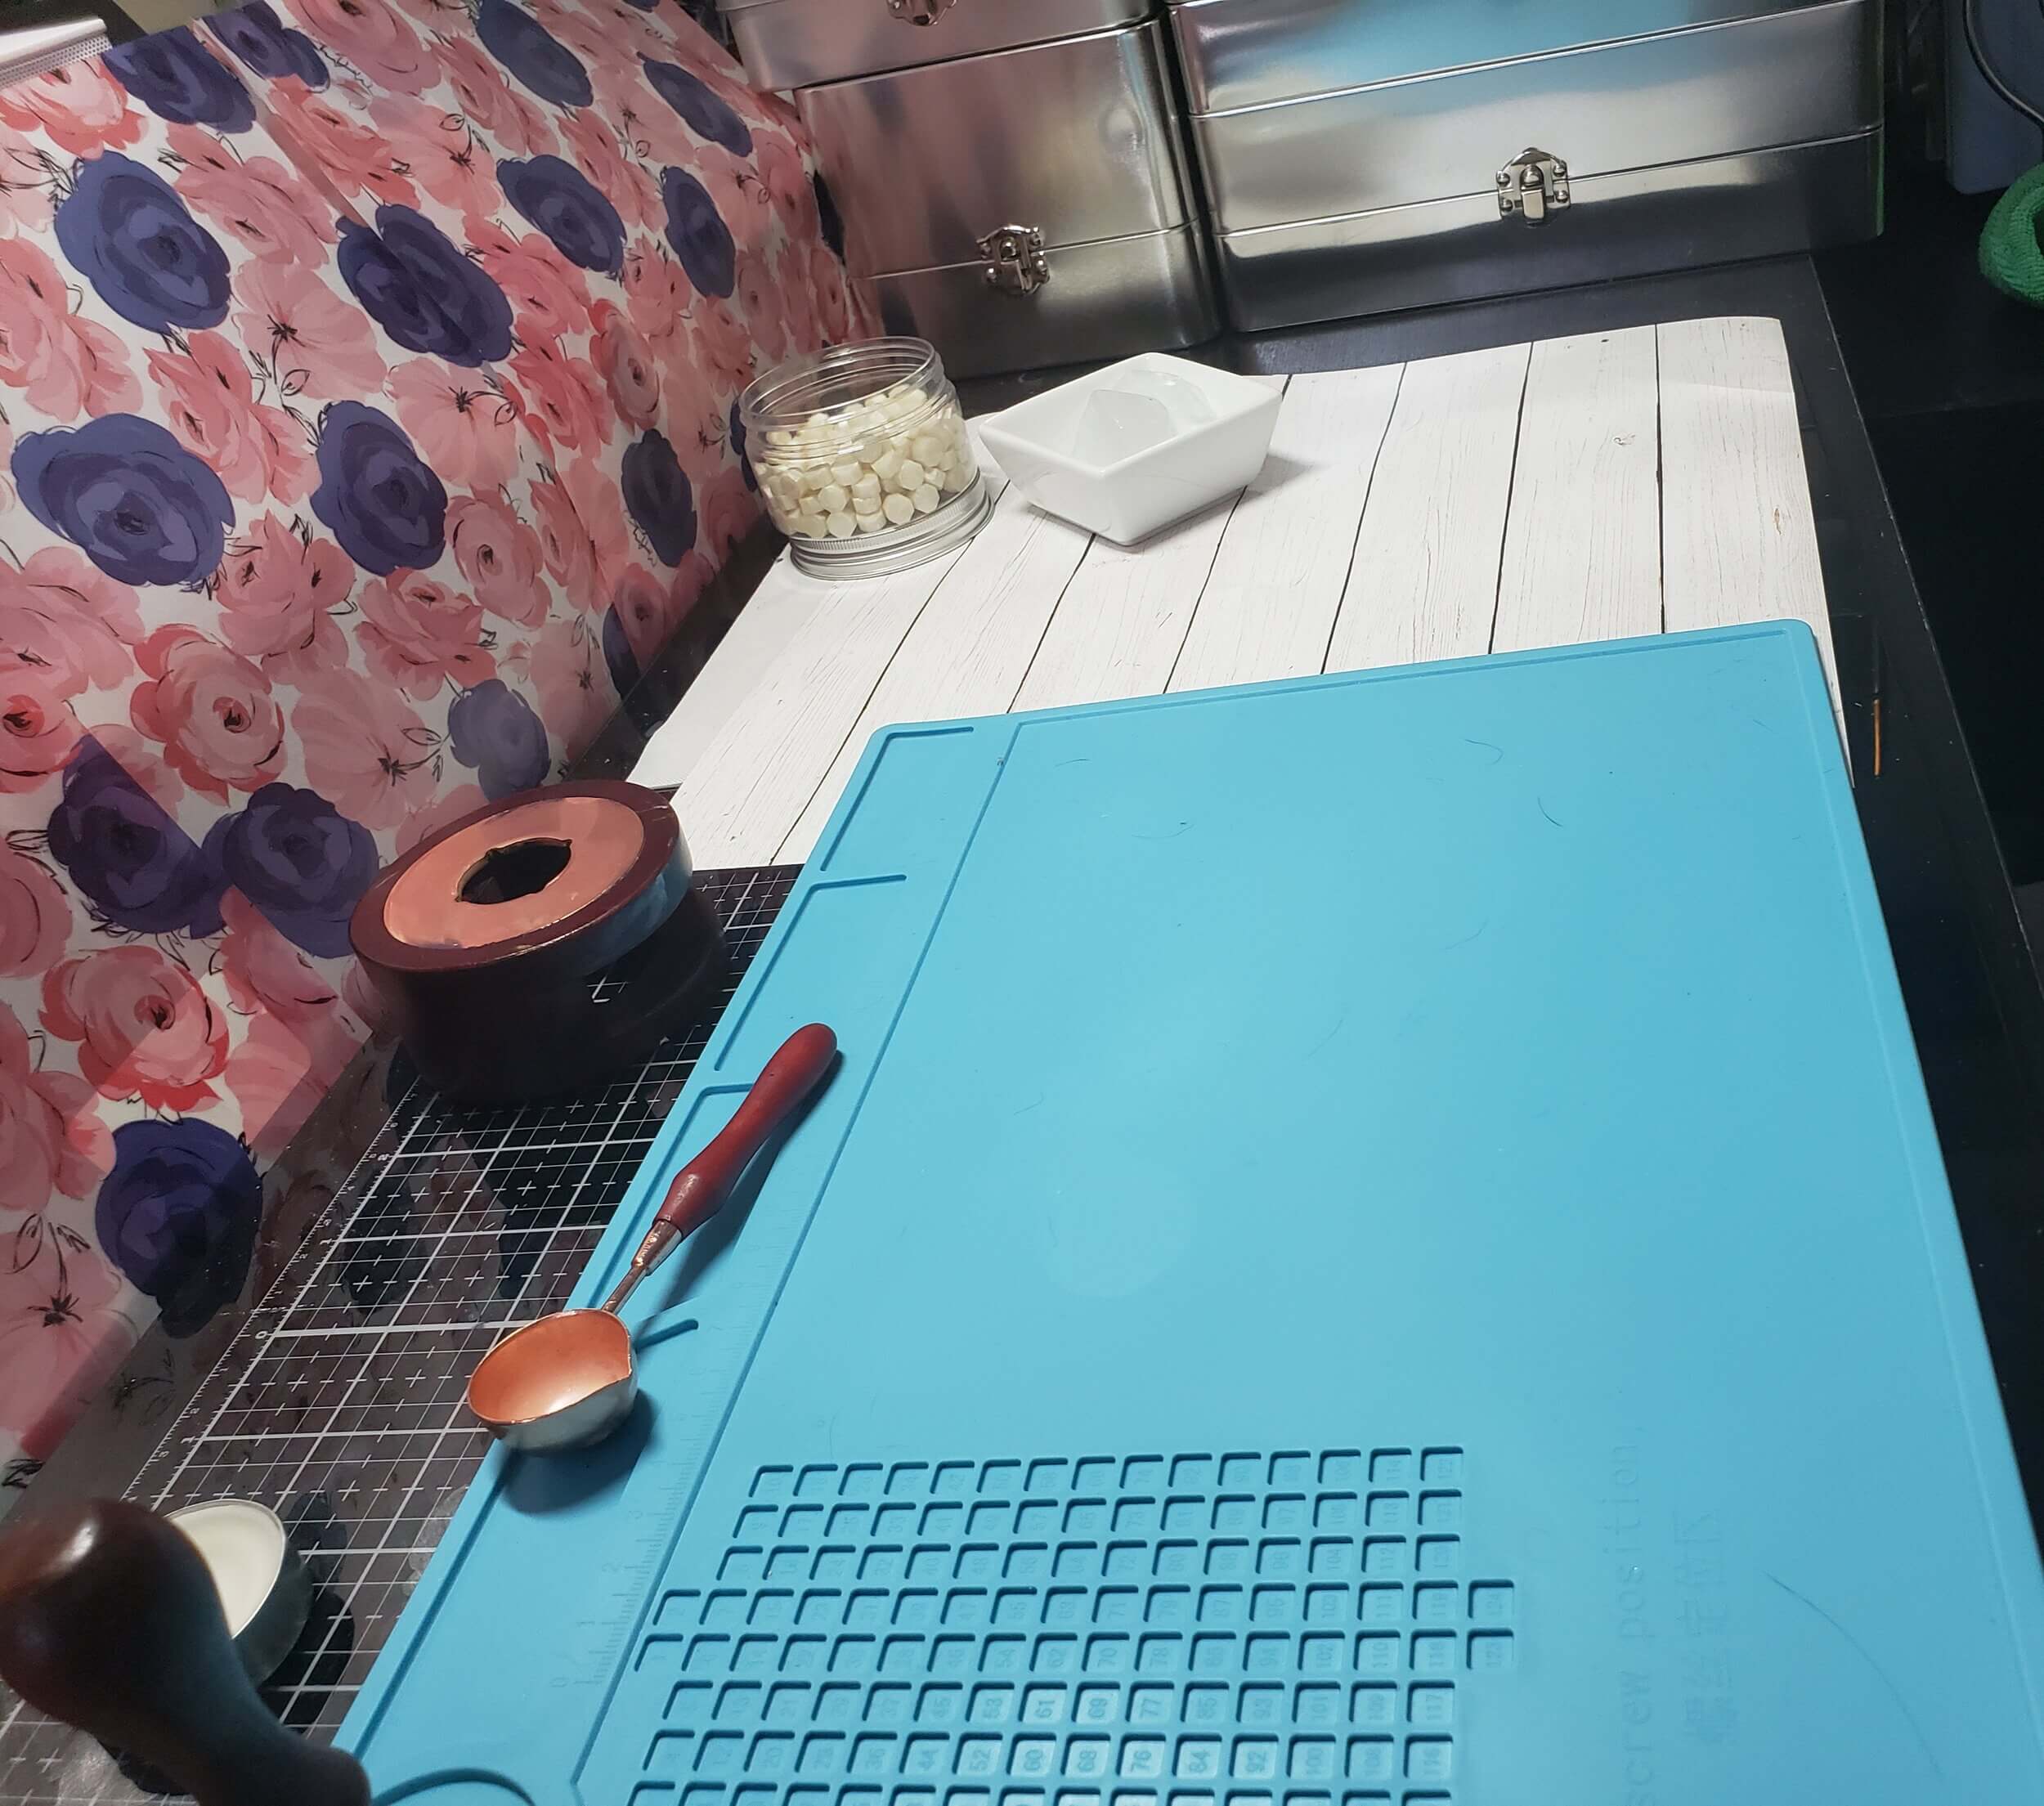
Tools: You need a candle, wax, and a seal/weight. Other items (that are nice but not necessary) include a spoon, furnace, and a small tray or dish with ice. Additionally, I recommend using a silicone mat.

What wax to I use? It didn’t really seem to make a difference. There are the fancy wax sticks with the wick built through the center that applies directly to the envelope. I don’t use those as I like to use the furnace/spoon to heat my wax to the desired consistency. I tend to use the wax pellets that come in various colors. There are hot glue guns with colored wax/plastic sticks. I’ve found that I can cut those sticks into pellet sized pieces and use them with my spoon/furnace. There seemed to be more color options with those hot glue gun type waxes, and I didn’t want to miss out.
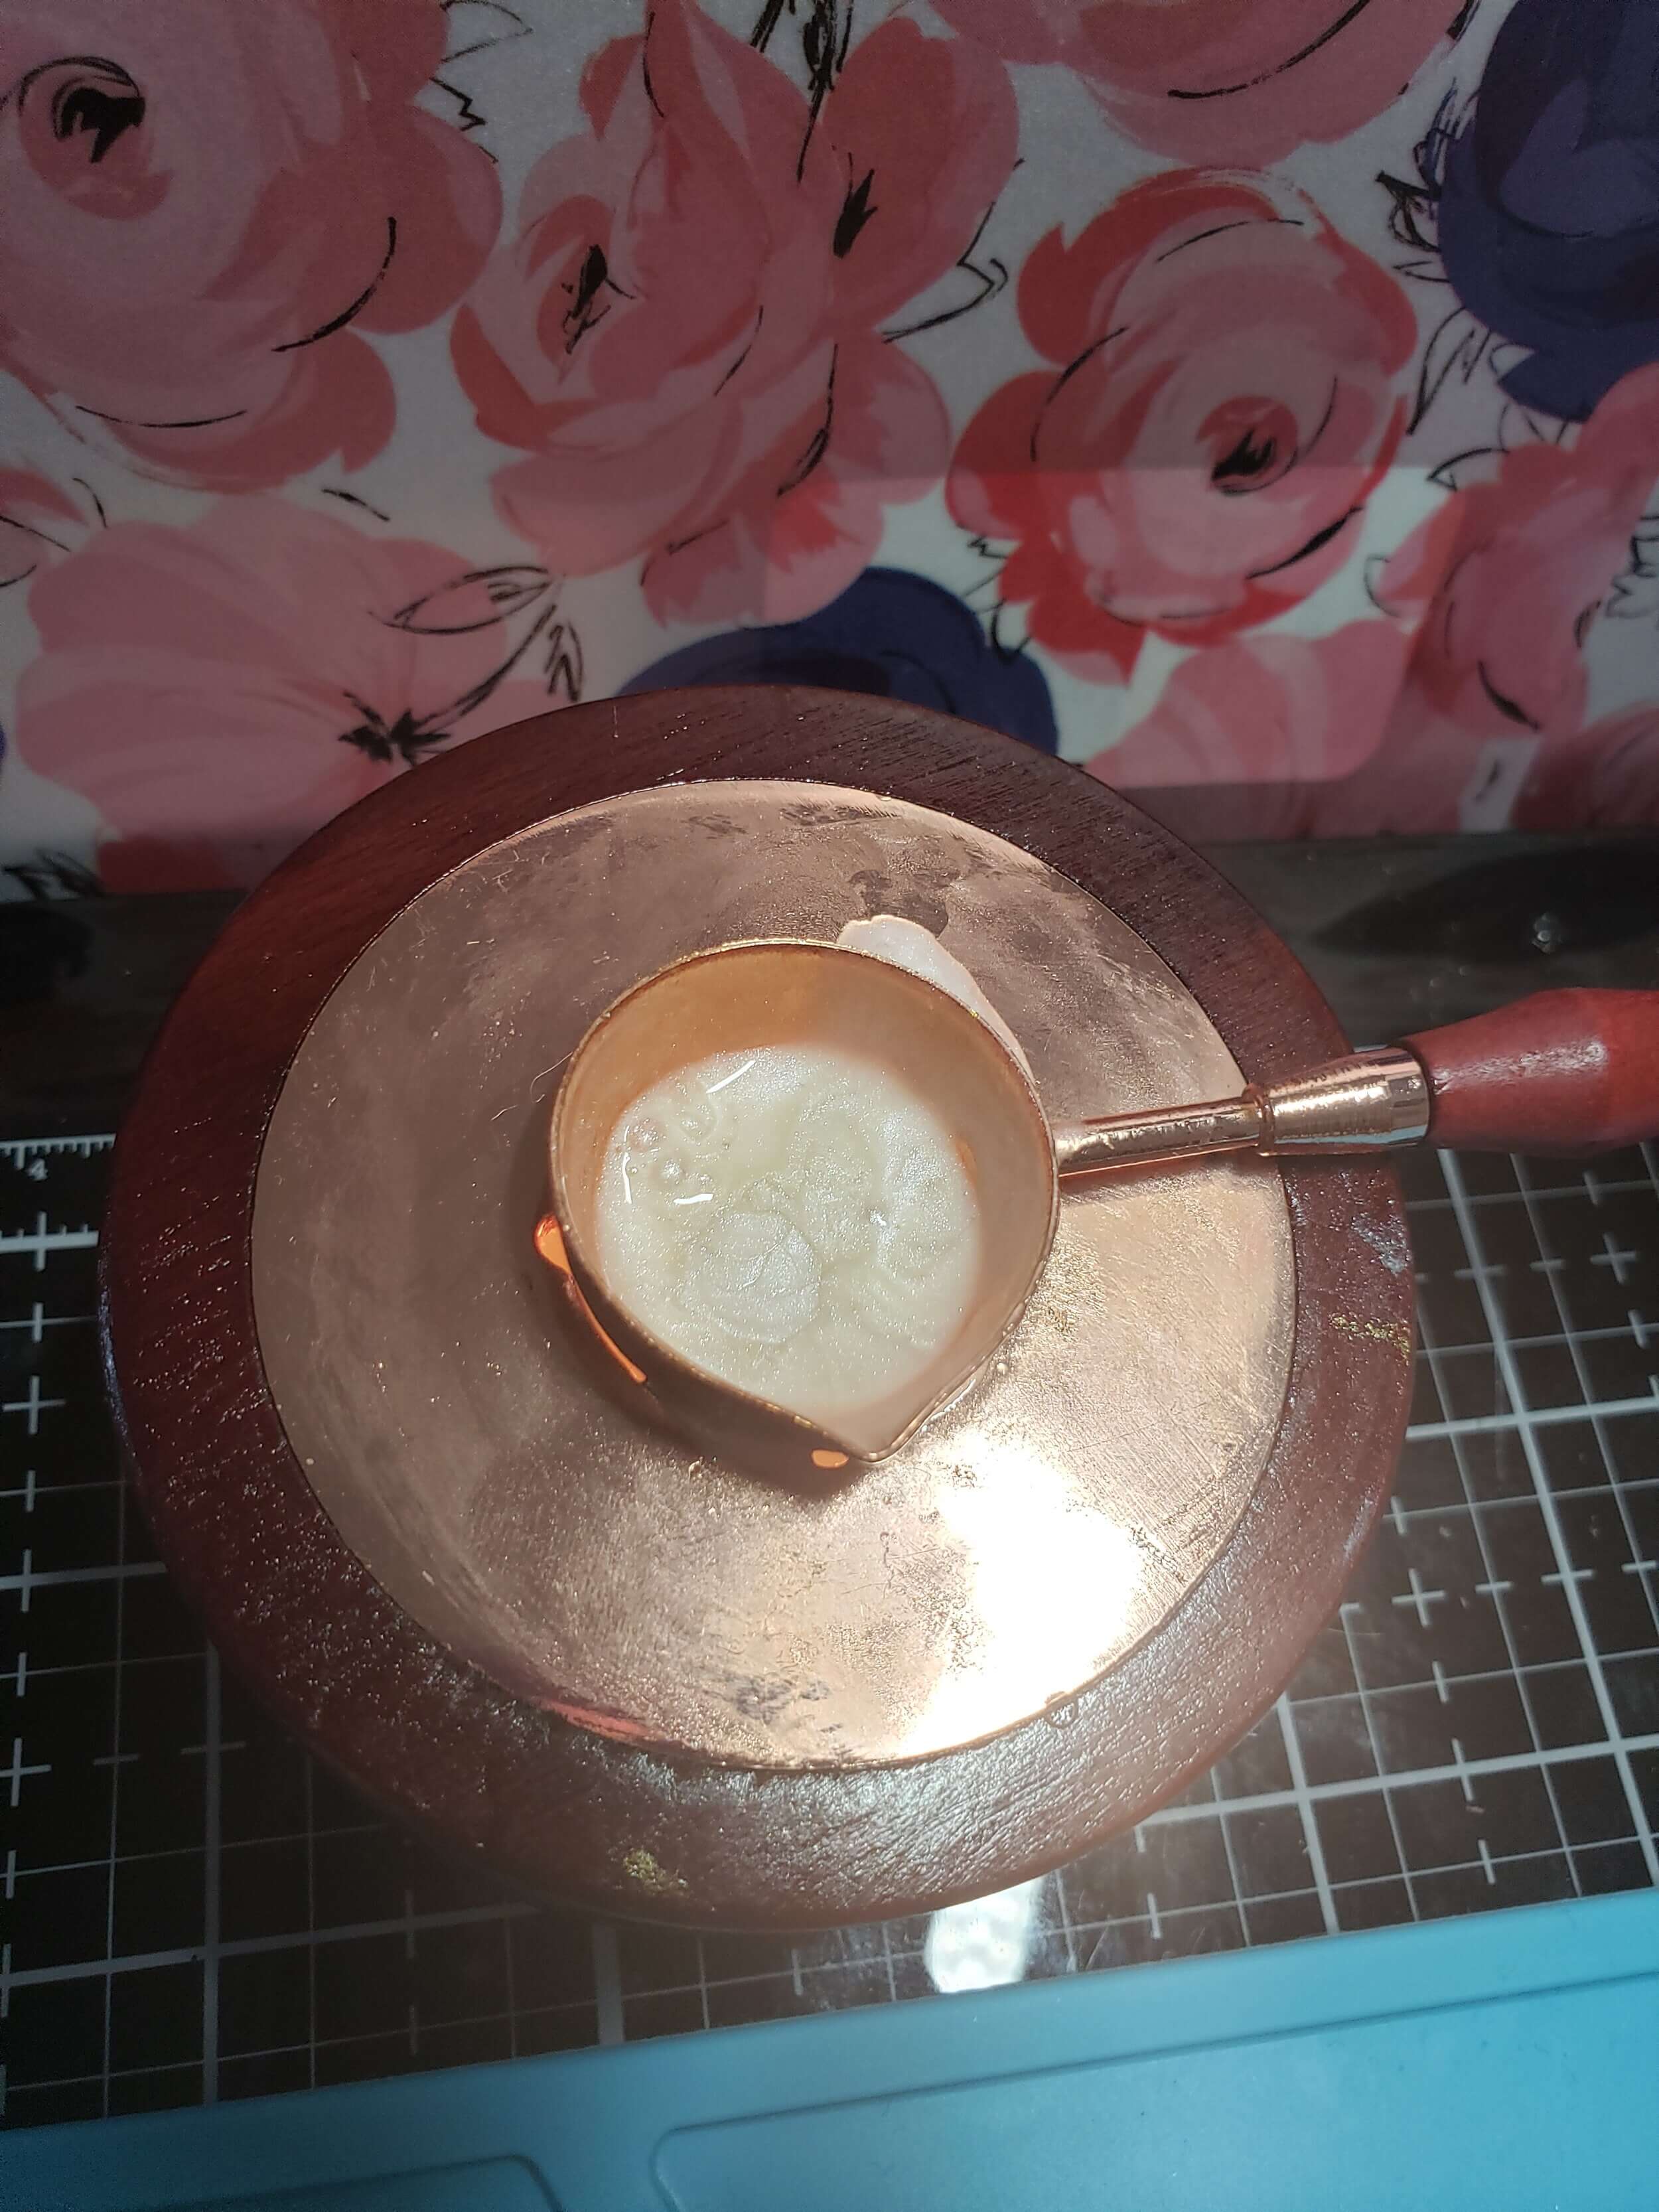
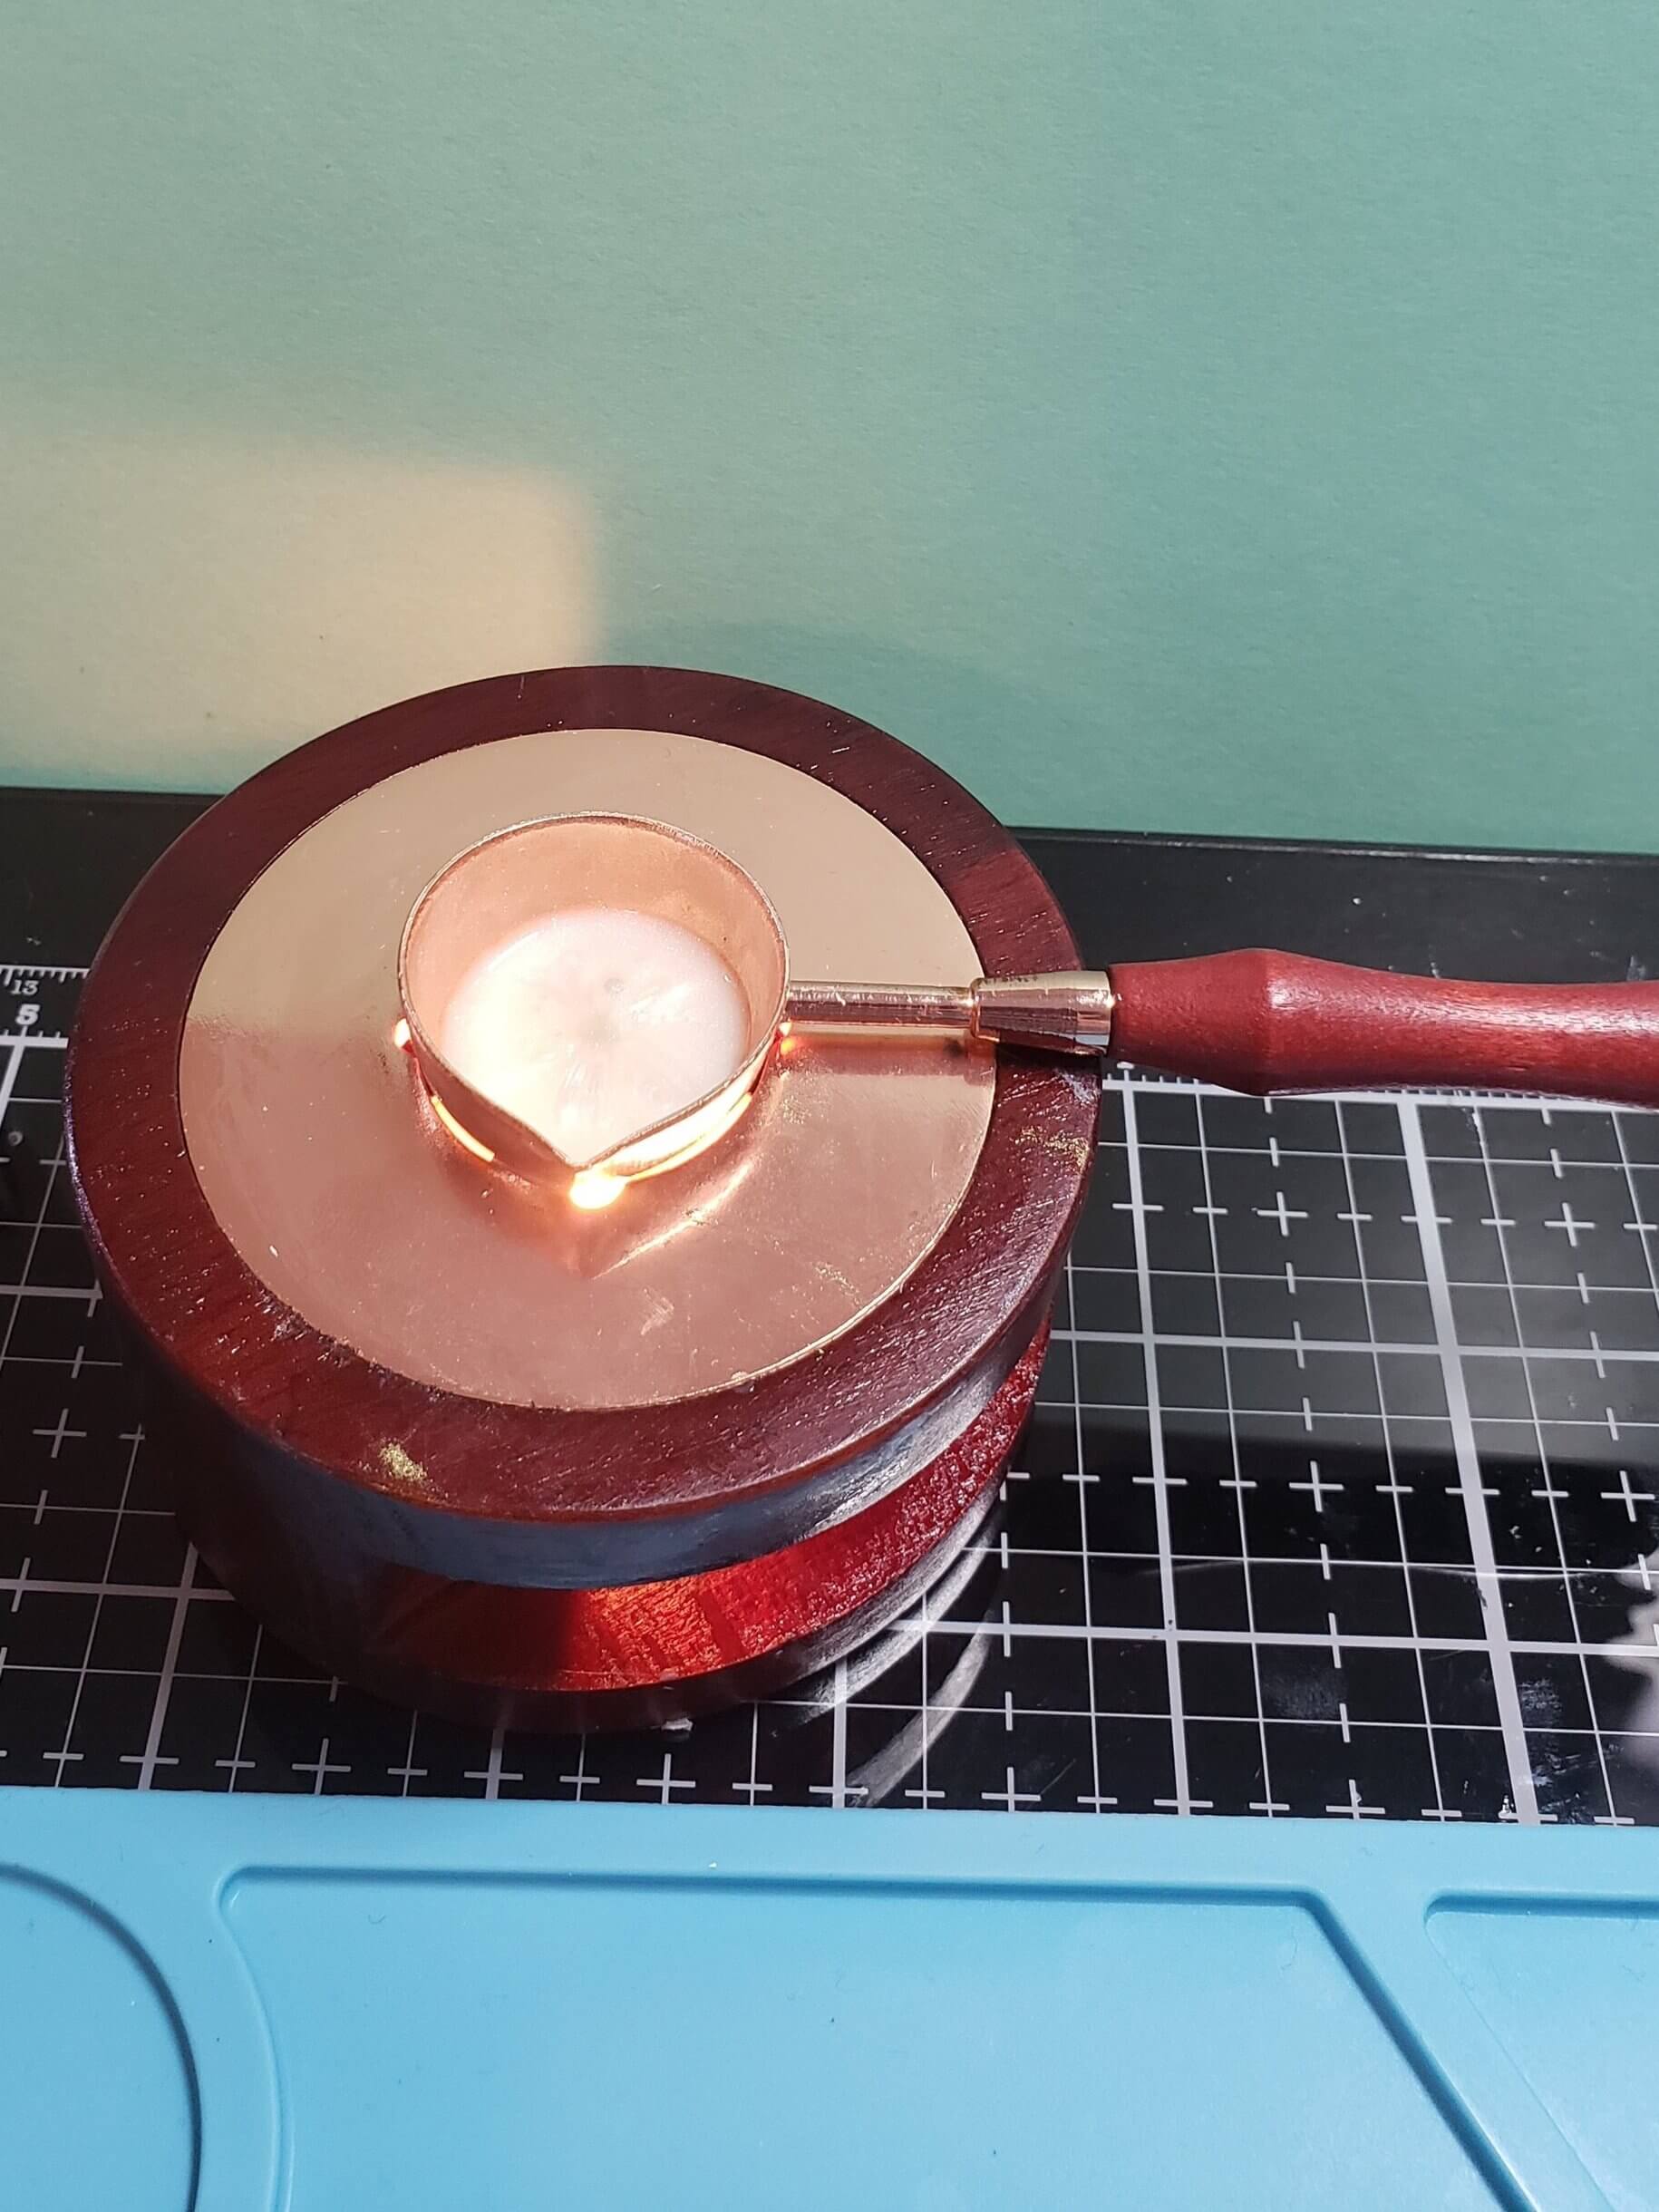
I’m not a fan of open flame, so one of the first things I purchased was a wax seal furnace. This item sits over the top of a tea light candle and warms the wax that’s placed in the spoon. The item linked is the exact one that have. It’s good quality and the spoon it comes with isn’t as shallow as most. This I find useful because I can add more wax without fear of it seeping over the edge. I can also use the other spoons with this furnace. I actually have three spoons that I use: One is used for white/pearl wax, one for gold, and the other I use for all colors. For the white and gold wax I use, I don’t bother cleaning out the spoon when I’m finished with it. When I’m done making seals, I’ll just set the spoon to the side to cool and the wax will harden inside of it. Next time I go to use the wax, it’ll simply melt when it’s placed over the furnace.
I’ve found that three pellets is the perfect amount of wax per seal.


When melting the wax, the desired consistency is that of a cold syrup. It’s liquid enough to move, but not so heated that it moves quickly. You do not want the wax to be too hot (definitely not boiling*) because if you apply it directly to your envelope, it may spread before you apply your weight/stamp seal.
This is where my recommendation for a silicone mat comes in. I recommend practicing creating the wax seals on the silicone mat to gain confidence and experience before moving to sealing envelopes. By applying the wax to the silicone surface (and then the stamp) you’ll get use to what wax consistency works best for stamping. I have some very intricate stamps and others that are plain. The wax for intricate designs needs to be a little hotter (more liquid and ablate to fill crevices) than designs with large bold images. There are other benefits to this practice. If you create a seal that you don’t like you can simply peel the wax from the mat and place it back into your spoon or wax pellets to be melted and reused. You’re also able to save the wax seals that you do approve of. I have a collection of seals that I can apply to envelopes using double sided tape or glue. There are plenty of etsy sellers that do this exact thing - selling premade seals.
Once you’re comfortable with process of applying the wax (knowing the right wax consistency) and the stamp, you can then move on to envelopes. I truly wish that I had done things in this order. I went through so many envelopes trying to figure out the process. And again, I have that collection of seals that I created, so I may decide to just glue on one of my “perfect” ones rather than risk ruining an envelope.
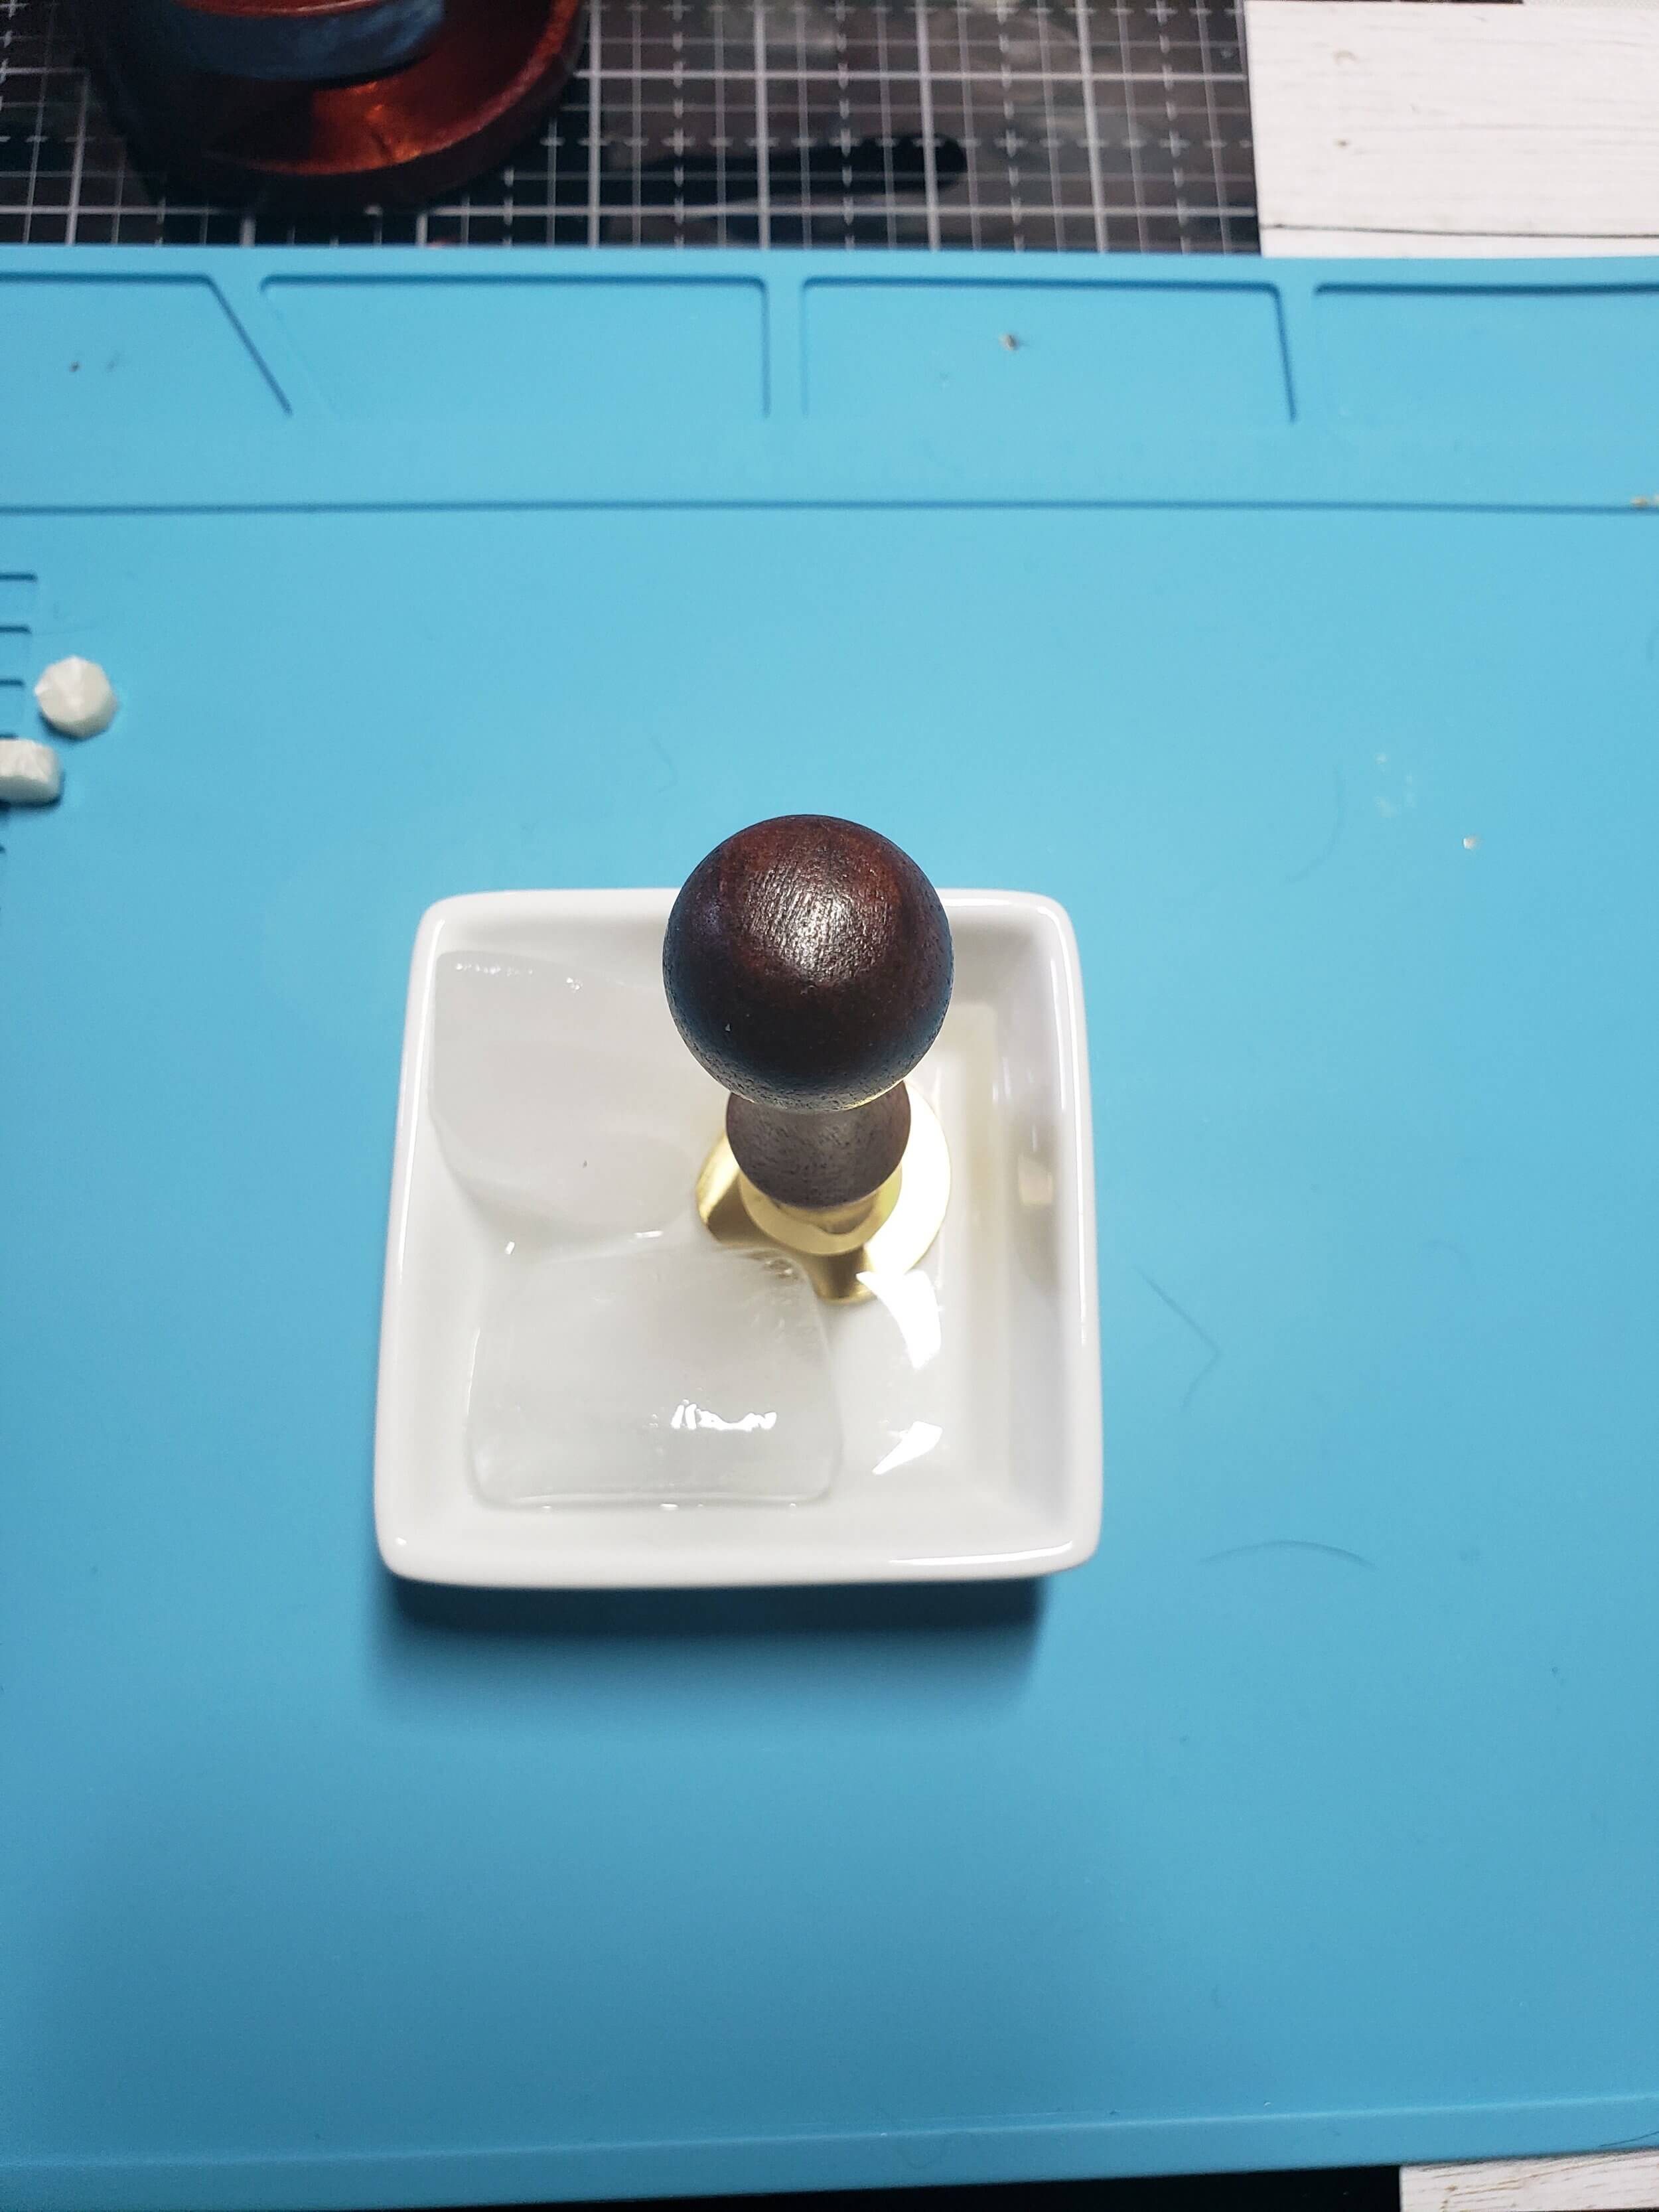
My recommendation of the ice filled dish comes into play with the application of the wax to envelopes and sealing process. Most stamp seals are made with brass. This metal transfers heat really quickly. By placing the brass stamp in a tray with ice, it super cools the end so that when it comes in contact with the wax, it transfers the shape or image very quickly. The wax’s temperature and the amount of time the stamp is applied are key. I found that I would either give the stamp too much time (then having the tool stuck to my envelope only to tear the wax and paper when I tried to remove it) or not enough (removing the stamp with still wet wax sticking to the the tool and ruining the imprinted design). By using the ice bath, the stamps were consistently able to imprint their design into the wax and pull cleanly away from the seal.

There are ways you can add to the fancy when working with wax seals. Try mixing different waxes to have swirling color. use glitter, dried flowers, or leaves in the seal to add something special.
I added baby’s breath buds to a seal on a wedding card I made and the couple was more impressed by that addition than the handmade card that was made. Again, build the fancy.
There are a lot of different designs for stamps out there. There are even custom orders if you have something in mind you can’t find, like your own brand logo.
Below is a video with pretty much everything I’ve written.
